Enhancing the functionality and convenience of your living space is often a DIY endeavor, and adding a light switch to an existing outlet is a valuable skill that can elevate your home’s efficiency. Whether you desire better control over lighting or seek to modify the layout of your electrical circuits, this guide will walk you through the process of how to add a light switch to an existing outlet.

From understanding basic electrical wiring principles to selecting the appropriate tools and components, we will provide a comprehensive step-by-step tutorial. This article emphasizes safety measures, ensuring that even those with limited electrical experience can successfully undertake this project. Learn how to navigate the intricacies of your home’s electrical system and empower yourself to customize your living space with the convenience of additional light switch access.
Tools and Materials
Before you begin, make sure you have the following tools and materials:
- Screwdriver (flathead or Phillips, depending on the type of screws holding your outlet cover in place)
- Voltage tester
- Wire cutters/strippers
- Electrical tape (optional)
- Light switch (single-pole or three-way, depending on your existing wiring)
- New electrical outlet cover (optional)
10 Methods How to Add a Light Switch to an Existing Outlet
1. Determine the Type of Switch You Need
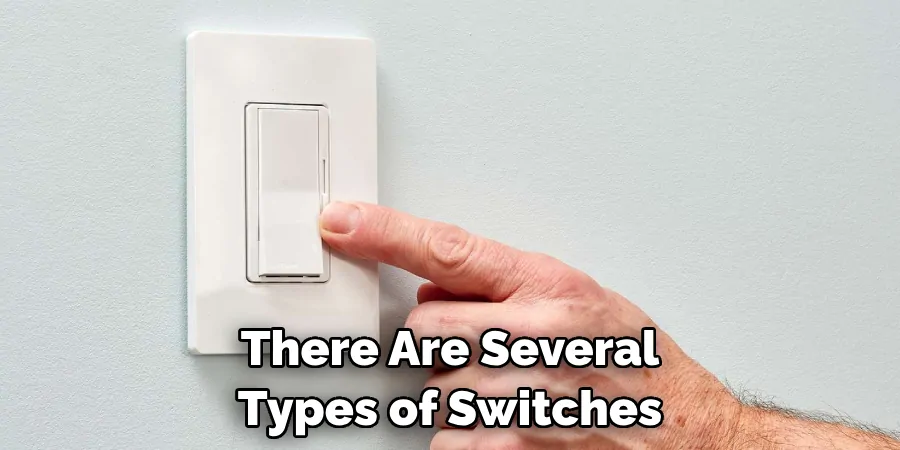
The first step in adding a light switch to an existing outlet is to determine what type of switch you need. There are several types of switches, including single-pole, three-way, and four-way switches. Make sure to choose the correct type for your specific setup.

2. Gather Necessary Tools and Materials
Before beginning the installation process, make sure you have all the necessary tools and materials on hand. This may include a screwdriver, wire stripper, electrical tape, and a new light switch.
3. Turn off the Power
For safety purposes, it is crucial to turn off the power to the outlet before making any changes. Locate the circuit breaker or fuse box and turn off the corresponding circuit for the outlet you will be working on.
4. Remove Outlet Cover Plate
Using a screwdriver, remove the cover plate from the existing outlet to expose the wiring behind it. Be careful not to damage the outlet or wiring while removing the cover plate. To ensure safety, turn off the electricity to the outlet by flipping the circuit breaker or removing the fuse.
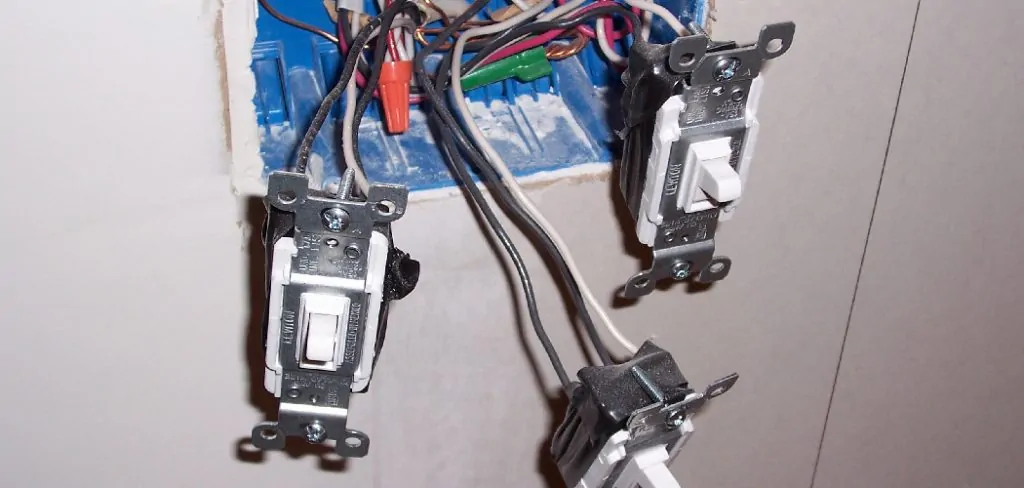
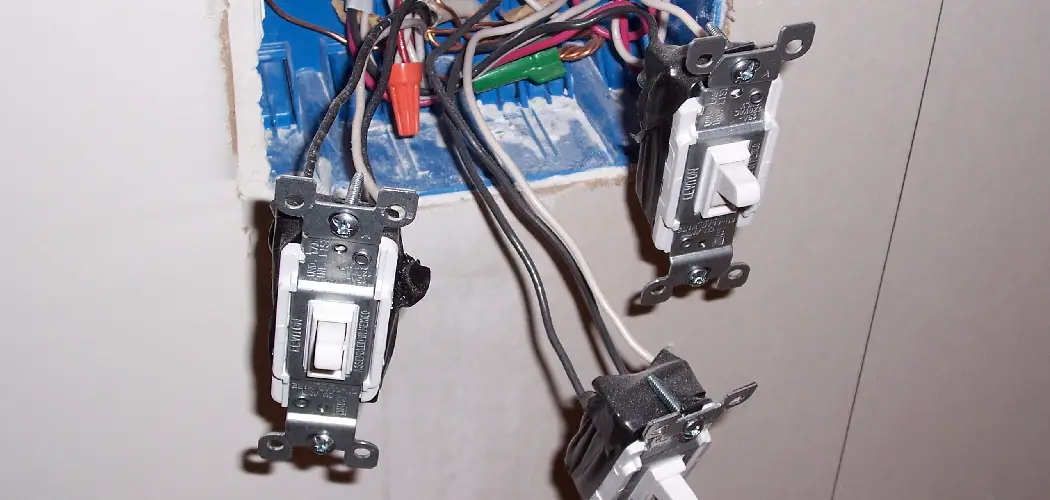
5. Identify Hot and Neutral Wires
Using a voltage tester or multimeter, identify which wire is hot (carries electricity) and which one is neutral (does not carry electricity). The hot wire will typically be black or red, while neutral wires are typically white. In some cases, the hot wire may also be identified by a piece of electrical tape wrapped around it.
6. Connect Wires to New Switch
Following manufacturer instructions, connect the hot wire to one of the switch’s brass terminals and connect the neutral wire to one of its silver terminals. The ground wire should be connected to the green terminal on the switch. Although modern switches can be wired with either the hot or neutral wire connected to either brass terminal, it is recommended to have a consistent wiring pattern for easy troubleshooting and safety.
7. Install Ground Wire (if Necessary)
If your new switch has a grounding terminal, attach a bare copper wire to it and then connect it to an available grounding screw on your outlet’s metal box. This step is necessary to ensure the safety of your electrical system and prevent shocks or fires.
8. Mount New Switch in Wall Box
Carefully tuck all wires back into their respective boxes and mount your new light switch using the screws provided with it. Make sure the switch is securely in place and level with the wall. If your walls are uneven, you can use shims to adjust the switch’s position. Once it’s mounted, turn on the power to test if the switch is working properly.

9. Turn the Power Back on
Once everything is securely in place, turn on the power again at your circuit breaker or fuse box. Try to turn on the light using your new switch to make sure everything is working correctly. If it doesn’t work, turn off the power again and double-check all of your connections to make sure they are secure.
10. Install Cover Plate
Finally, install the cover plate back onto the outlet and test your new light switch to ensure it is working correctly. If not, double-check all connections and make any necessary adjustments. Additionally, make sure the cover plate is securely in place to avoid any potential hazards.
Testing the Light Switch for Functionality
One of the most important steps in adding a light switch to an existing outlet is testing its functionality. This step ensures that your new switch is properly connected and working correctly.
To test your light switch, follow these steps:
- Turn Off the Power: Before you begin testing, make sure to turn off the power to the outlet at the circuit breaker or fuse box. This will ensure your safety while working with electricity.
- Remove the Outlet Cover: Use a screwdriver to remove the screws holding the outlet cover in place and carefully remove the cover.
- Identify the Wires: You should see two black wires, two white wires, and two green or copper wires inside the outlet box. The black wires are hot (carrying electricity), the white wires are neutral, and the green or copper wires are ground.
- Connect the Switch: Using wire nuts, connect one of the black wires from the outlet to one of the screws on the new light switch. Then, connect another black wire from the outlet to the other screw on the switch.
- Test for Functionality: Once you have connected the switch, turn the power back on. You can use a voltage tester to check if there is electricity running through the switch. If it shows an electrical current, your switch has been successfully connected and is functional.
- Turn Off the Power Again: Once you have confirmed that your light switch is working correctly, turn off the power again before proceeding with any additional steps.

Final Adjustments and Cleanup
Congratulations! You have successfully added a light switch to your existing outlet. However, there are a few final adjustments and cleanup tasks that you may need to complete in order to ensure everything is functioning properly.
Firstly, make sure the power is turned off at the circuit breaker before proceeding with any further steps. This will prevent any accidents or electrocution while working on the outlet and switch.
Next, check the connections at both the outlet and the light switch to ensure they are secure and tight. Loose connections can lead to malfunctioning or even dangerous situations.
If you have used a dimmer switch, make sure that it is compatible with your light bulbs. Using incompatible bulbs can cause flickering or buzzing noises from the switch.
Once everything is securely connected, turn the power back on and test the light switch. If it is not working properly, double check all connections and try again.
Common Mistakes to Avoid When Adding a Light Switch to an Existing Outlet
Adding a light switch to an existing outlet may seem like a simple task, but it can quickly become complicated if not done correctly. Here are some common mistakes to avoid when adding a light switch to an existing outlet:
Not Turning off the Power
Before attempting any electrical work, it is crucial to turn off the power to the outlet. Failure to do so can result in electric shock or even fire. Make sure to locate the correct circuit breaker and turn it off before starting any work.
Using the Wrong Tools
Using incorrect tools can make the installation process difficult and potentially damage your outlet or switch. Always use proper electrical tools such as wire strippers, pliers, and a voltage tester to ensure a safe and successful installation.

Not Testing the Wires
It is essential to test the wires before making any connections. Use a voltage tester to confirm that there is no power running through the wires. If you skip this step, you could end up connecting live wires, resulting in electric shock or damage to your switch and outlet.
Conclusion
In conclusion, learning how to add a light switch to an existing outlet is a simple and valuable skill that can significantly improve your home’s functionality. By following the steps outlined in this blog post, you can easily transform any outlet into a dual-purpose source of power and light.
Remember to always prioritize safety by turning off the power before working on any electrical outlets and to have a professional electrician check your work if you’re unsure about anything.
With this new knowledge under your belt, you’ll be able to customize the lighting in your space and save energy by having more control over which lights are on at any given time. Don’t be afraid to get creative with different types of switches or even adding multiple switches for different purposes.

