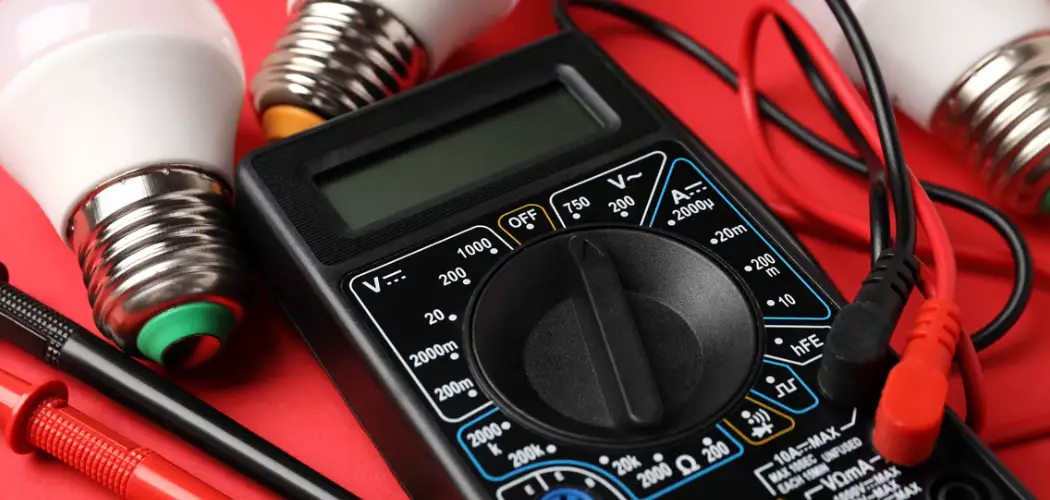
Low-voltage lighting is an energy-efficient and versatile solution for both indoor and outdoor environments.
Unlike traditional lighting systems that operate on standard 120-volt electrical circuits, low-voltage lighting uses a transformer to reduce the voltage to 12 or 24 volts. This reduction in voltage not only ensures safety but also enhances the flexibility of lighting design. The system transmits power from the primary electrical source through the transformer, which then distributes the low-voltage current to the various lighting fixtures. This method is particularly advantageous for accent, landscape, and decorative lighting, as it allows for the use of smaller, more discreet fixtures that can be easily repositioned to achieve the desired lighting effect.
In this guide on how does low voltage lighting work, we’ll explore the key components of a low voltage lighting system and provide an overview of its operation.
What Will You Need?
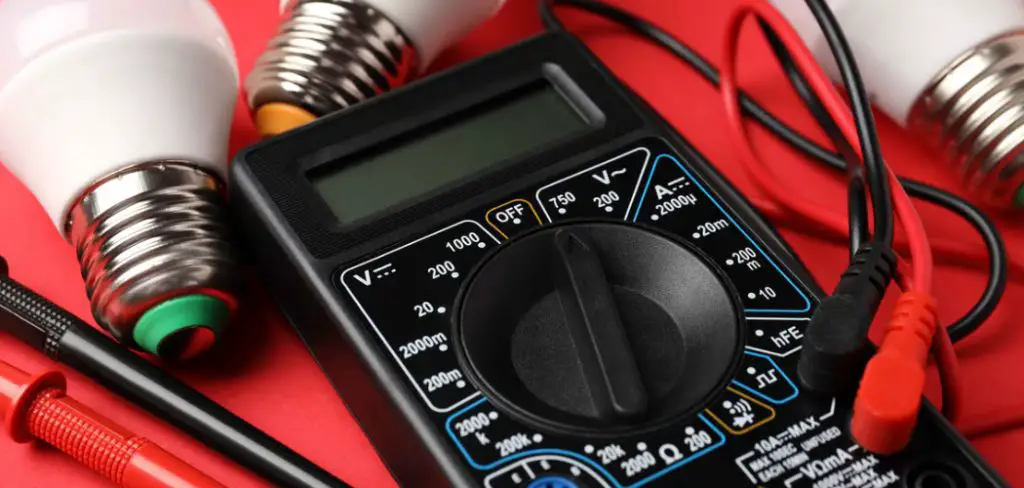
Before setting up a low-voltage lighting system, you will need to have the following components:
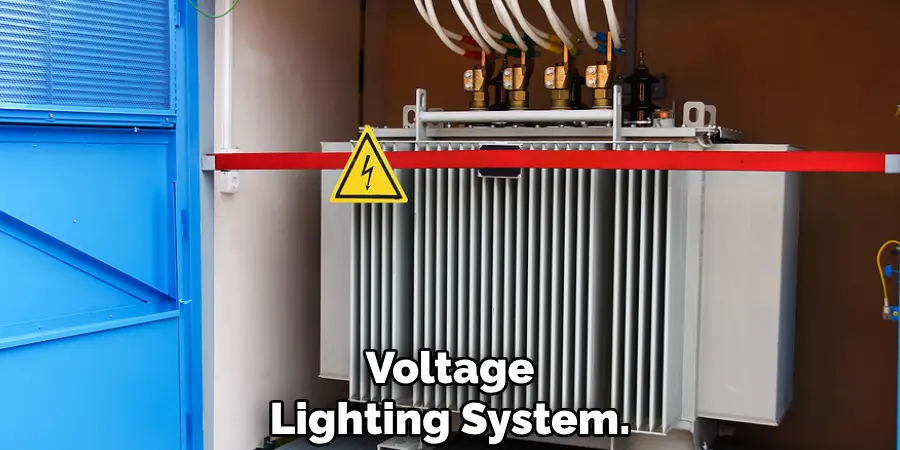
- Transformer: This is the most essential component of a low-voltage lighting system. It converts high-voltage power from an electrical outlet into a safe, low-voltage current that powers the lights. Transformers come in different types and sizes, so it’s important to choose one that can handle the total wattage of your lighting fixtures.
- Low Voltage Cable: This cable connects the transformer to the lighting fixtures and carries the reduced voltage current. It’s usually made of copper or aluminum and comes in various lengths.
- Lighting Fixtures: These are the actual light sources used in a low-voltage lighting system. They come in a variety of styles, including spotlights, path lights, deck lights, and underwater lights. The key advantages of low-voltage lighting fixtures are their compact size and versatility.
- Connection Accessories: These include wire nuts, connectors, and junction boxes used to connect the low-voltage cable to the transformer and fixtures.
Once you have all the necessary components, you can set up your low-voltage lighting system.
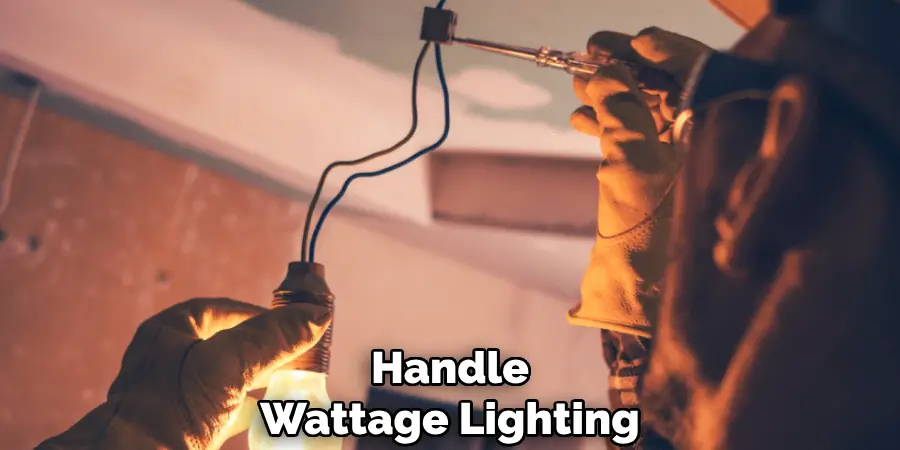
9 Easy Steps on How Does Low Voltage Lighting Work
Step 1. Plan Your Layout:
Careful planning is crucial when setting up a low-voltage lighting system to ensure functionality and aesthetic appeal. Begin by assessing the area you wish to illuminate and consider the purpose of each fixture. Are you aiming to highlight specific architectural features, illuminate pathways for safety, or create a mood with ambient lighting? Once the purpose is clear, sketch a rough map of the space, marking out the locations where you intend to place each fixture. Maintaining a realistic distance between the transformer and the lighting fixtures is essential to minimize voltage drop.
Step 2. Select Your Transformer:
Choosing the correct transformer is vital for successfully operating your low-voltage lighting system. Calculate the total wattage of all the lighting fixtures you plan to use, and select a transformer with a capacity that exceeds this total to avoid overloading. It is advisable to choose a transformer that provides additional capacity for potential future expansion of the system.
Be sure to consider the type of transformer—magnetic or electronic—as each has its own advantages. Magnetic transformers are generally more durable and handle longer cable runs better, while electronic transformers are more compact and lightweight. Install the transformer close to a power source and within a reasonable distance from the first fixture to reduce any potential voltage drop.
Step 3. Lay the Low Voltage Cable:
Once you have your layout planned and the transformer selected, it’s time to lay the low-voltage cable. Begin by determining the path the cable will follow from the transformer to each lighting fixture, keeping the cable running as directly as possible to minimize voltage drop.
Use a trenching shovel or cable layer to dig a shallow trench, ensuring it is deep enough to protect the cable from damage but not too profound to make future adjustments difficult. Lay the cable in the trench, leaving some slack at each fixture location to allow for movement or repositioning. Avoid sharp bends or kinks in the cable, as these can lead to eventual wear or damage. After all the cable is in place, lightly cover it with soil or mulch, exposing the locations for fixtures for easy installation later on.
Step 4. Install the Lighting Fixtures:
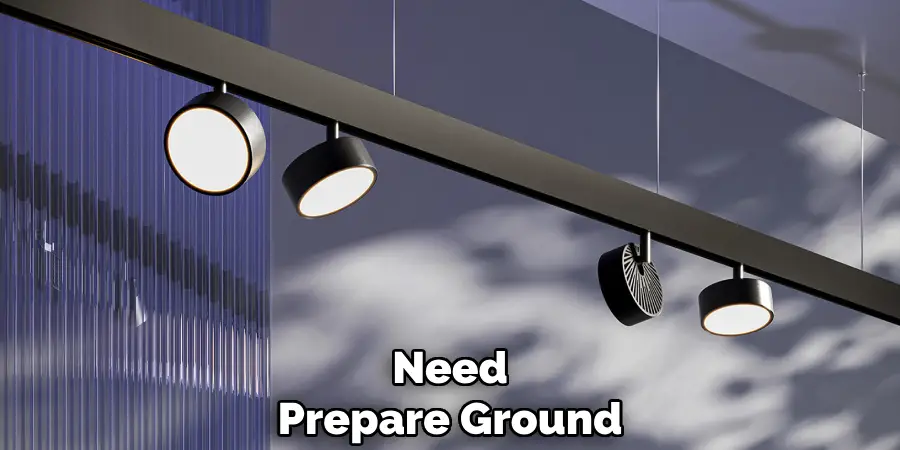
With the low-voltage cable in place, installing the lighting fixtures is next. Begin by positioning each fixture according to your layout plan, ensuring it aligns with the intended areas for illumination. Depending on the type of fixture, you may need to prepare the ground, such as driving a stake for ground lights or mounting brackets for wall fixtures.
Connect the fixtures to the low-voltage cable using the appropriate connectors or wire nuts, ensuring the connections are secure and waterproof to prevent short circuits. Test each fixture individually to verify it functions correctly before securely fastening it in place. Adjust the orientation and angle of each light to achieve the desired lighting effect, ensuring that the light is evenly distributed and any specific features are adequately highlighted.
Step 5. Connect to the Transformer:
Now that the lighting fixtures are securely installed, it is time to connect the low-voltage cable to the transformer. Start by turning off the power to the transformer for safety. Open the transformer’s access panel and locate the terminals designated for the low-voltage connections. Trim any excess cable to ensure a neat fit and strip the ends to reveal the copper wires.
Attach the copper wires to the terminal screws, providing a firm and secure connection. It’s crucial to observe polarity, so connect the cables consistently, matching the positive and negative terminals. Once the connections are made, double-check that all screws are tight to prevent any loose connections that could cause operational issues. Close the transformer’s panel and restore power to test the entire system, confirming that all fixtures illuminate as planned without any flickering or dimming.
Step 6. Test and Fine-Tune the System:
After all the components of your low-voltage lighting system are installed and connected, it’s crucial to thoroughly test and fine-tune the system. Start by turning on the power and observing each fixture to ensure all lights function correctly. Look for inconsistencies such as flickering, which could indicate a loose connection, or dim lights, which may suggest a voltage drop issue. Adjust the positioning of fixtures if necessary to optimize the lighting coverage and enhance aesthetic appeal. Pay special attention to any potential glare or overly bright spots, as these can detract from the desired ambiance.
Step 7. Maintain the Lighting System:
Regular maintenance is essential to ensure the longevity and efficiency of your low-voltage lighting system. Begin by periodically inspecting each fixture for signs of wear, damage, or corrosion, as these can impede performance. Clean the fixtures to remove dirt, debris, or any obstructions that accumulate over time, ensuring the light output remains clear and bright. Check connections and cables for any signs of wear or looseness, tightening as necessary to prevent electrical issues. Replace any burned-out or fading bulbs promptly to maintain consistent illumination. Additionally, if your outdoor environment experiences significant seasonal changes, consider adjusting the fixture positions or angles to account for varying vegetation growth or landscape alterations.
Step 8. Troubleshoot Common Issues:
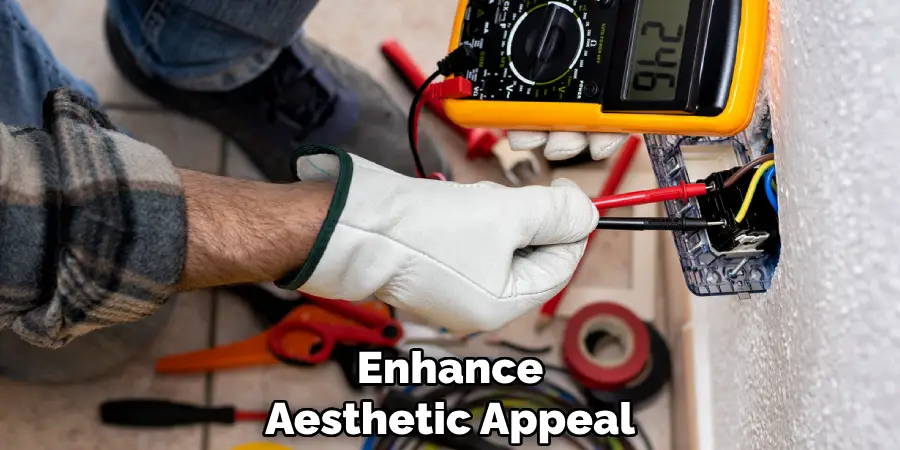
Even with careful installation and regular maintenance, your low-voltage lighting system may encounter occasional issues that require troubleshooting. Begin by addressing any lights that are not turning on or flickering. Check the power source and ensure the transformer is functioning properly. Inspect connections for any disconnections or loose wires. If a specific fixture is dim, consider checking for voltage drop by measuring the voltage at the fixture terminals and comparing it to the transformer output. Adjust cable lengths or upgrade your cabling if necessary to reduce any significant voltage drop. For intermittent issues, examine fixtures for moisture ingress or faulty connections caused by environmental factors. Keeping a troubleshooting log can help identify recurring problems and streamline future diagnostics.
Step 9. Upgrade the System When Necessary:
As technology advances, upgrading your low-voltage lighting system can enhance its efficiency and functionality. Consider replacing older halogen bulbs with energy-efficient LED alternatives, which offer brighter illumination and reduced energy consumption. Explore new fixture designs or lighting controls incorporating innovative technology, allowing for remote operation and programmable settings via smartphone apps. Upgrades can also involve expanding the system to cover additional areas of your landscape or integrating solar-powered elements to reduce reliance on traditional electricity.
By following these installation and maintenance steps, you can enjoy a beautiful and functional low-voltage lighting system that enhances the ambiance and safety of your outdoor space for years.
Conclusion
Low-voltage lighting systems work by reducing standard electrical power to a safer, lower voltage, usually 12 or 24 volts. This transition is achieved through a transformer, which converts the higher household voltage to a level that eliminates the risk of electrical shock and is suitable for outdoor use.
The system’s components, such as low-voltage cables and fixtures, are designed to distribute the reduced power while maintaining optimal performance efficiently. By providing focused illumination with minimal energy consumption, these systems offer versatility in design and application, allowing for precise lighting effects that enhance functionality and aesthetics.
Hopefully, the article on how does low voltage lighting work has provided you with the necessary information to confidently install, maintain, troubleshoot, and upgrade your low voltage lighting system. So go ahead and transform your outdoor space with low-voltage lighting! Happy illuminating!

