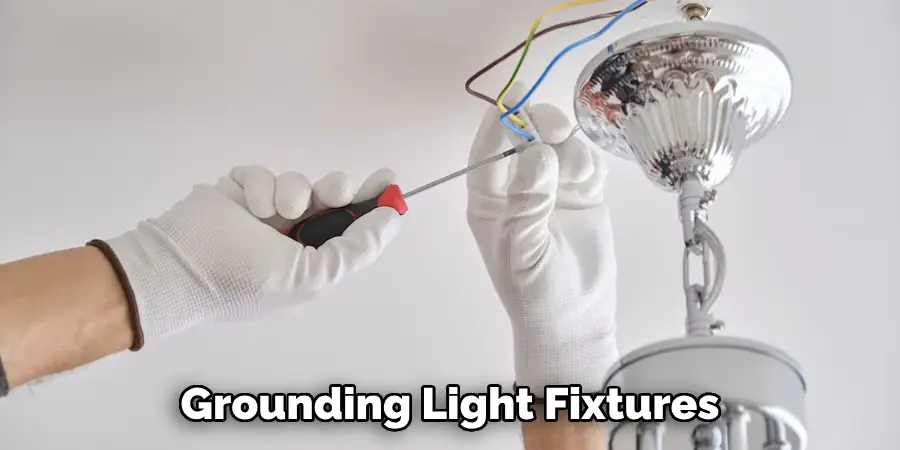
Grounding light fixtures is a crucial safety measure that can prevent hazardous incidents such as electrical shocks and fires. Grounding involves creating a safe path for electrical currents to travel to the earth, thereby protecting individuals from the risks associated with damaged or overcharged electrical systems. Understanding how do you ground a light fixture is vital for ensuring the safety and compliance of your home’s electrical setup.
This process involves using specific tools and materials, such as wire strippers, grounding wires, and electrical connectors. The fundamental steps include turning off the power, connecting the grounding wire securely, and carefully reattaching and testing the fixture. Following proper grounding procedures enhances safety and ensures adherence to local electrical codes, preventing potential fines and hazards.

Understanding Grounding in Electrical Systems
What is Grounding?
Grounding in electrical systems refers to connecting electrical circuits to the earth, ensuring that excess electricity safely dissipates into the ground. This vital safety mechanism provides a stable reference point for electrical systems, helping protect both equipment and individuals from unexpected surges in electrical current.
Grounding vs. Bonding:
Grounding and bonding are related but distinct concepts in electrical safety. While grounding involves connecting electrical systems to the earth, bonding refers to the process of connecting various metal parts of a system together to ensure they have the same electrical potential. Bonding is crucial in minimizing voltage differences that could lead to electrical accidents, providing an extra layer of safety by preventing equipment damage and enhancing circuit protection.
Importance of Grounding Light Fixtures:
Grounding light fixtures is essential for several reasons. First, it helps prevent electrical shocks, which can occur if a live wire comes into contact with the metal parts of a fixture. Second, proper grounding reduces the risk of electrical fires by allowing fault currents to dissipate safely. Third, grounding ensures compliance with building codes, which mandate this safety precaution to protect both property and people, promoting a safe living environment.
Tools and Materials Needed
Essential Tools:
To ensure a smooth and efficient grounding process, you will need the following tools:
- Wire Strippers: Use these to prepare the grounding wire, ensuring proper connection by stripping the ends efficiently.
- Screwdriver Set: Necessary for securing connections and fastening screws on the grounding terminal or fixture body.
- Voltage Tester: This tool is crucial for verifying that the light fixture is safe to work on, reducing the risk of electrical shock.
Materials Required:
For successful grounding, have these materials ready:
- Grounding Wire: Typically green or bare copper, this wire provides a safe path for fault currents.
- Electrical Connectors: Wire nuts or terminal blocks are used to secure the wire connections firmly.
Optional:
- Electrical Tape: Offer additional insulation and protection for connections.
Safety Gear:
- Recommendations: Wear safety goggles and gloves when working with electrical components to protect against accidental shocks or flying debris.
- Importance: Always turn off power at the circuit breaker before starting any electrical work to ensure maximum safety.
Preparing the Light Fixture for Grounding
Turn Off the Power:
Before you begin any work on electrical fixtures, it is crucial to ensure your safety by turning off the power at the circuit breaker. Follow these steps to safely shut down the power supply to your light fixture:
- Locate your home’s main electrical panel and open it to identify the appropriate circuit breaker controlling the light fixture.
- Carefully switch off the breaker for the specific circuit. The breaker should be clearly labeled; if not, refer to your electrical panel map.
- Double-check that the correct breaker has been turned off using a voltage tester. Press the tester against the light fixture’s wires or a neighboring outlet – there should be no detected voltage.

Remove the Light Fixture:
Once the power is confirmed off, you’re ready to remove the light fixture. Follow these steps to ensure you do this safely:
- Use a stable ladder to reach and access the light fixture.
- Carefully loosen and remove any screws or nuts securing the fixture to its mounting bracket using a suitable screwdriver.
- Gently lower the fixture, allowing access to the wiring. Note the positions and the color codes of the attached wires: typically black or red for live, white for neutral, and green or bare for ground.
- Detach the wiring by unscrewing any wire connectors, keeping track of their placements for easy reinstallation.
Inspect the Wiring:
Before proceeding with grounding, inspecting the existing wiring for any signs of damage is important. These recommendations will help ensure the integrity of your electrical system:
- Look for visible indications of wear, such as cracks, fraying, or corrosion on the electrical wires.
- Replace any damaged wires with new, high-quality wiring to maintain safety and effectiveness.
- Ensure that the wire insulation is intact and securely covering each wire, preventing any potential electrical hazards during reinstallation and use.
How Do You Ground a Light Fixture: Identifying the Grounding Method
Types of Grounding Methods:
Choosing the appropriate grounding method is crucial for safety and compliance when grounding a light fixture. Here are the common methods you might use:
- Grounding Wire Connection: The most basic and often used method involves securely connecting a grounding wire, typically green or bare copper, to the light fixture. This wire should be attached to the grounding screw on the fixture itself, ensuring a safe path for any fault currents into the grounding system.
- Using a Grounding Terminal: Some light fixtures come with a designated grounding terminal. If available, connect the grounding wire to this terminal, creating a stable connection. This terminal is often marked within the fixture, designed to seamlessly integrate grounding into the electrical framework.
- Metal Box Grounding: For fixtures mounted on a metal junction box, grounding can be achieved through the box itself. This method connects the fixture’s grounding wire to the metal box, providing an effective grounding path. Ensure that the box is grounded according to local codes.
Understanding Local Electrical Codes:
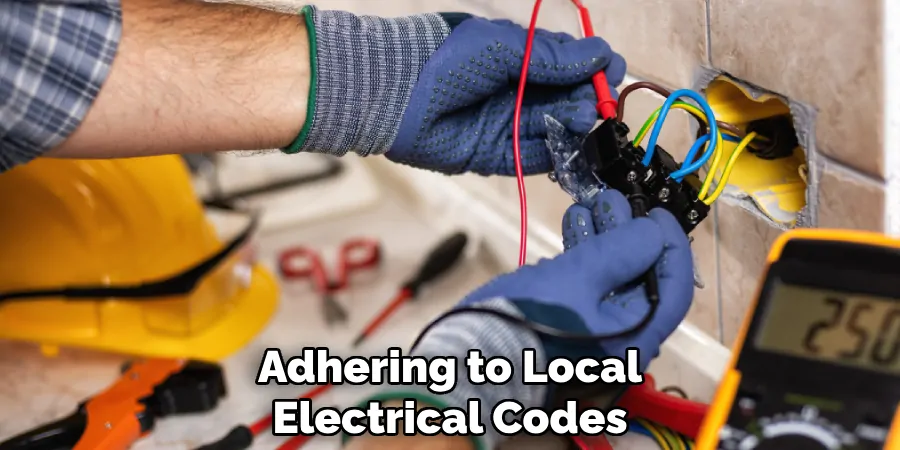
Adhering to local electrical codes and regulations is paramount when selecting a grounding method. These codes ensure that all installations provide maximum safety and functionality. If unsure about the correct approach or if your setup deviates from common practices, consulting a licensed electrician can provide clarity and peace of mind, ensuring that installations are safe and compliant.
How Do You Ground a Light Fixture: Grounding the Light Fixture
Connecting the Grounding Wire:
Start by properly connecting the grounding wire to your light fixture to ensure a safe electrical setup. Begin by stripping about half an inch of insulation from the end of the grounding wire to expose enough copper for a secure connection. Use a wire stripper to accomplish this cleanly and efficiently.
Once the copper wire is exposed, take the stripped end and wrap it around the grounding terminal or grounding screw located on the fixture body. Use a screwdriver to tighten the screw, ensuring the wire is firmly secured to prevent any accidental disconnections. A tight connection is essential for safety, as it provides a reliable path for fault currents.
Grounding Through a Junction Box:
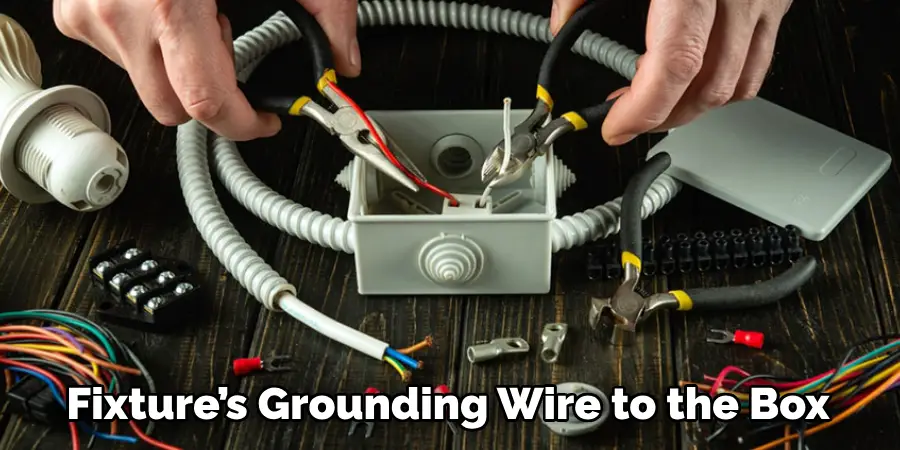
If your light fixture is mounted on a metal junction box, follow these steps to ground it effectively. First, ensure that the junction box itself is securely grounded. Next, connect the fixture’s grounding wire to the box. This can be done by attaching the wire to a grounding screw inside the box or by securing it with a grounding clip. Ensure this connection is tight and robust, as a loose wire may compromise the grounding path. This method not only grounds the fixture but also helps in grounding the entire metal box effectively.
Using Wire Nuts or Connectors:
Use wire nuts or connectors to secure grounding wire connections firmly. When twisting wire nuts onto the wires, be sure to twist them clockwise to tighten. This ensures a secure bond between the wires, preventing them from becoming loose over time. If using terminal connectors, insert the wires into the connector and tighten the screws until the wires are firmly entrenched. These methods help maintain a continuous grounding path by ensuring the wires remain well connected, reducing potential electrical faults.
Double-Checking Connections:
After making all the connections, it’s crucial to double-check their integrity to ensure safety and functionality. Verify that the live and neutral wires are correctly aligned and secured to their respective terminals. Loose or incorrect connections can lead to electrical shorts or faulty light fixture operation. Before finalizing the reinstallation of your fixture, employ a multimeter or voltage tester to check that the grounding connection is live. This step assures that the grounding path is operational, providing peace of mind and ensuring that the installation adheres to electrical safety standards.
Reattaching and Testing the Light Fixture
Reattaching the Fixture:
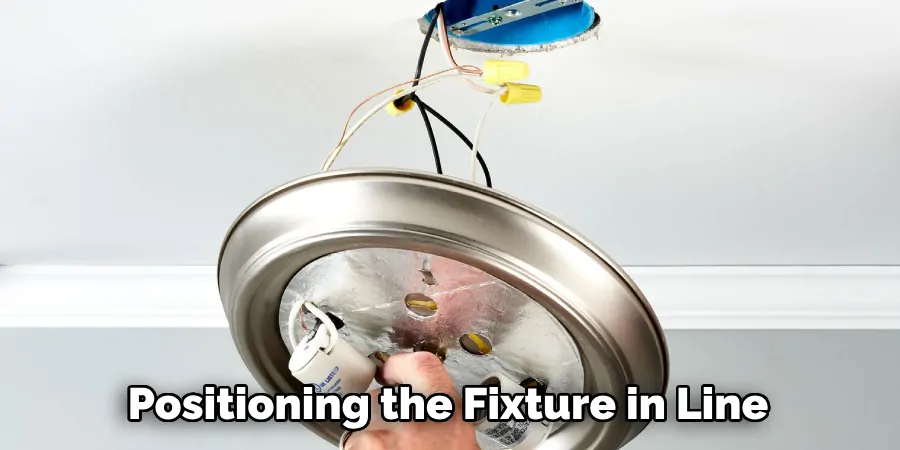
To safely reattach your light fixture to the mounting bracket, begin by carefully positioning the fixture in line with the bracket. Ensure all wires are organized and not pinched between the fixture and the bracket. Guide the fixture into place, making sure it aligns with the bracket holes. Secure the fixture with the screws provided, tightening them evenly to keep the fixture stable. As you reattach the fixture, pay close attention to managing the wires, ensuring they are tucked away neatly, avoiding any potential obstruction that could cause damage during reassembly.
Restoring Power and Testing:
Once the fixture is securely reattached, power at the circuit breaker will be restored. Flip the breaker switch back to the “on” position and return to the fixture. Turn on the light switch to verify operation. The light should illuminate immediately; if it doesn’t, double-check your wire connections, ensuring they are properly secured.
Testing Grounding Effectiveness:
Use a multimeter or voltage tester to assess the grounding connection’s effectiveness. Touch one probe to the grounding wire or terminal and the other to a metal part of the fixture. The reading will verify a live grounding connection. If any issues appear during testing, consult a professional electrician to ensure compliance with safety standards.
Common Grounding Mistakes to Avoid
Grounding light fixtures, while a crucial safety measure, can sometimes lead to common errors if not done correctly. One frequent mistake is not properly securing wire connections, resulting in loose wires that compromise the grounding path and pose serious safety risks. Another common error is disconnecting the power source before commencing any electrical work, increasing the risk of electric shock or short circuits. Additionally, incorrectly identifying ground wires can lead to improper connections, rendering the grounding ineffective.
Adhering to safety guidelines to mitigate these risks is imperative. Following established protocols ensures a safe and compliant installation process. Always double-check connections for security and robustness. When uncertainty arises, consulting with a professional electrician is highly encouraged, as they possess the expertise to address any issues and confirm that all grounding measures meet safety standards. Taking these precautions significantly contributes to preventing electrical hazards.
Conclusion
Grounding light fixtures is essential to electrical safety and compliance in your home. Ensuring that all connections are secure and properly executed can prevent potential hazards, such as electrical fires and shock. This guide has outlined the steps involved in preparing, grounding, and testing a light fixture, including carefully stripping wires, connecting them securely using wire nuts or connectors, and double-checking the effectiveness of these connections.
A properly grounded fixture provides a reliable fault current path, promoting safety and durability. Maintaining sound grounding practices mitigates risks and ensures homeowners’ peace of mind. By following these guidelines, you effectively address the question, “how do you ground a light fixture?” and take a vital step towards enhancing your home’s electrical safety. Proper implementation protects your household and ensures adherence to safety standards, making your living space safer and more compliant with electrical codes.

