Are you tired of seeing your icicle lights hanging crookedly? Do you want to know how to make them hang straight and create a beautiful display for the holiday season?

Hanging icicle lights can transform the exterior of your home into a winter wonderland, but achieving that flawlessly straight and uniform look can sometimes be a challenge.
Whether preparing for the holidays or simply adding a cozy twinkle to your home in the drearier months, properly hanging your icicle lights is essential for safety and aesthetics.
The key to success lies in using the right tools and techniques to ensure that each strand hangs evenly without tangles.
In this guide on how do you get icicle lights to hang straight, we’ll walk you through the necessary steps and offer tips for creating a pristine display that captures the magic of the season.
What Will You Need?
Before we dive into the steps, it’s essential to gather all of the necessary materials. Here are some things you’ll need:
- Icicle lights
- Extension cords (if needed)
- Clips or adhesive hooks
- Ladder or step stool
Once you have all these items, you’re ready to start!
10 Easy Steps on How Do You Get Icicle Lights to Hang Straight
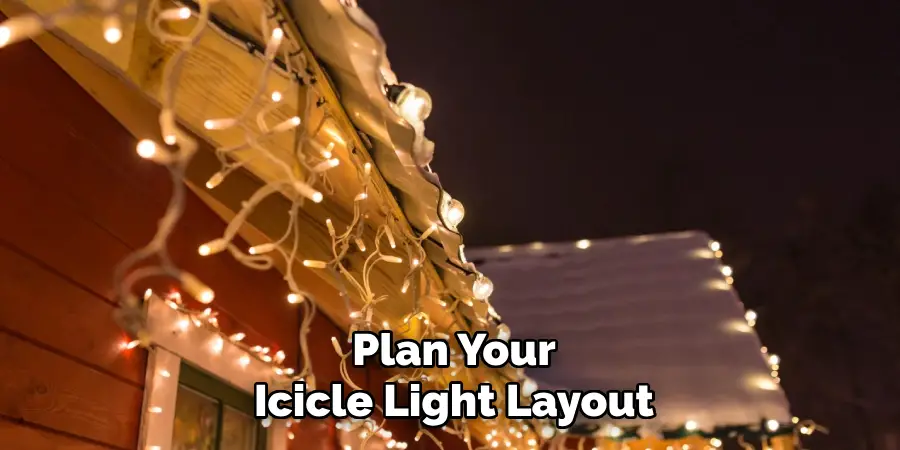
Step 1. Plan Your Layout:
Before you begin hanging your icicle lights, stand in front of your home and envision how you want the lights to appear.
Consider which parts of your house you want to highlight, such as rooflines, windows, or railings, and strategize the placement of the lights to emphasize these features.
Measure the length of the spaces where you’ll be hanging the lights to ensure that you have enough length for coverage. This step is crucial, as it prevents last-minute adjustments resulting in uneven or tangled lights.
Also, identify where your power sources are located. This will help you determine if you need extension cords and, if so, how many. Careful planning in advance will save you time and effort as you proceed with hanging the lights, ensuring a seamless and visually appealing display.

Step 2. Test Your Lights:
Before you start hanging, you must test your icicle lights to ensure all bulbs work correctly. Plug in each strand and check for any flickering or burnt-out bulbs. Replacing any faulty bulbs before hanging will prevent the frustration of needing to take down and reinstall sections later.
Additionally, ensure that the entire length of the lights is functioning correctly, as this will save you time and effort. Testing your lights beforehand ensures your final display shines brightly and consistently.
Step 3. Use Clips or Hooks:
Using the proper clips or hooks is essential to achieve that perfect straight-hanging effect. Opt for clips explicitly designed for exterior weather conditions, as these are often more durable and adhere better.
Start by attaching clips or hooks to the edge of your roofline or wherever you plan to hang the lights. Space them evenly to ensure that the icicle lights hang uniformly without sagging.
If your home has gutters, you can use gutter clips that latch on easily and securely. Adhesive hooks can work well for other surfaces like shingles or eaves, provided they are weather-resistant.
Installing these supportive components in advance allows you to drape your icicle lights effortlessly, maintaining a straight, unblemished line that enhances your home’s holiday sparkle.
Step 4. Hang the Lights Carefully:
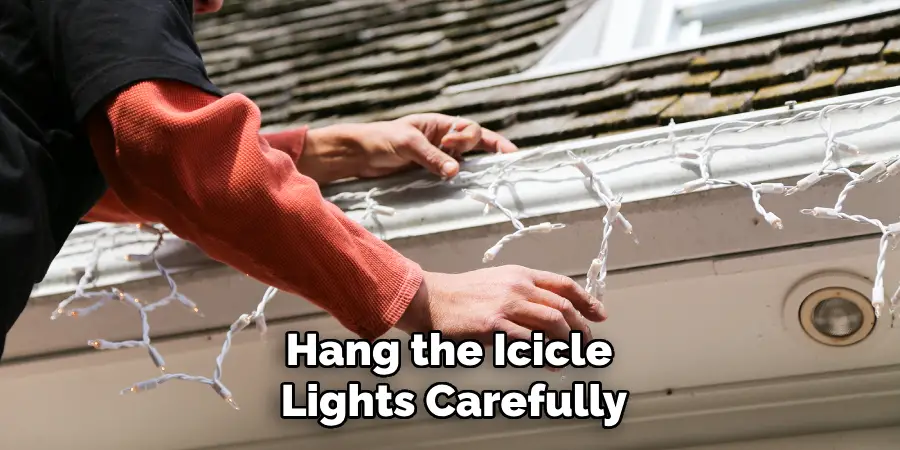
Now that your mounting clips or hooks are in place, it’s time to hang the icicle lights. Begin at one end of the planned display area, attaching the first section of the lights to the initial clip or hook.
Continue along the roofline or designated surface, attaching each subsequent section of lights to the clips or hooks in a gentle, even manner. Be mindful not to pull too tightly, which could create tension and cause sections to lift or sag unevenly.
If working on a ladder, ensure it’s stable and that you have a spotter to assist you if needed. Take your time with this step; as a patient, methodical approach will keep the strands aligned and ensure your lights hang straight and gracefully.
Step 5. Secure Connections with Extension Cords:
After hanging the lights, ensure a steady power supply by securely connecting any necessary extension cords. When placing extension cords, choose options suitable for outdoor use to withstand various weather conditions.

Carefully connect each cord to the light strands, ensuring a tight fit to prevent any disconnections that can interrupt power. Strategically place extension cords where they can be protected from foot traffic and harsh weather, possibly tucking them under eaves or along gutters.
Keeping cables organized and hidden not only maintains a neat appearance but also ensures safety by reducing trip hazards and potential electrical issues.
Step 6. Check Alignment Regularly:
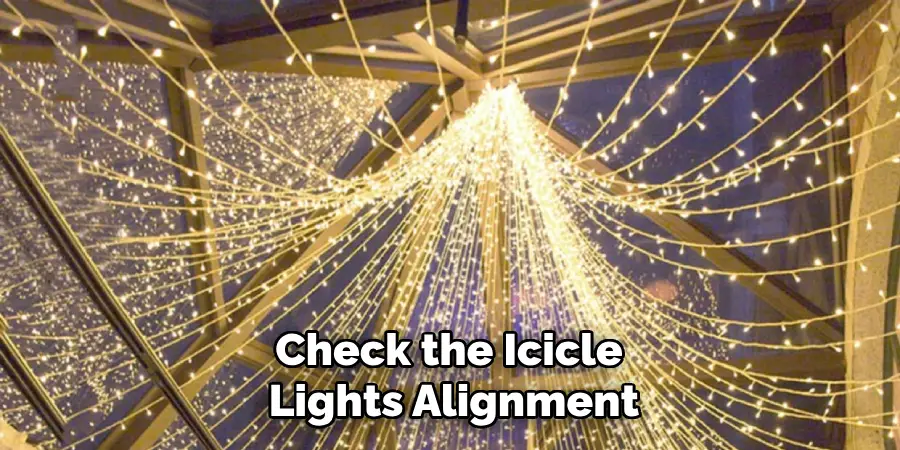
As you proceed from one section to the next, regularly step back and check the alignment and straightness of your icicle lights.
Examining your work from a distance allows you to identify any uneven spots or sections that may have shifted during installation. If you spot any areas that need adjustment, make the necessary tweaks to ensure that the lights hang uniformly.
This periodic checking will help you maintain the overall aesthetic you aim for, guaranteeing a consistent and visually appealing display throughout the installation.
Taking the time to assess your progress and make minor corrections as needed will save you from having to redo larger sections later on.
Step 7. Adjust for Wind and Weather:
Once your lights are up and aligned, take additional measures to ensure they remain steady against wind and weather.
Consider using extra clips to prevent lights from swaying or getting tangled, especially in areas more exposed to breezy conditions. Live in an area with harsher weather conditions, such as heavy snow or rain.
Reinforcing certain sections with more robust hooks or weather-resistant adhesives can help maintain stability. Protecting your lights against environmental elements will help preserve your holiday display throughout the season, preventing weather-induced misalignment or damage.
Step 8. Set a Schedule for Your Lights:
Once your icicle lights are securely in place, consider setting a schedule for when they will turn on and off.

This can be done using a timer plug or a smart home system, which allows you to automate your holiday display without needing to plug and unplug the lights each day manually.
Schedule the lights to turn on at dusk and off at a reasonable hour to save energy and extend the life of your lights. This ensures consistent illumination each evening and provides convenience and energy efficiency. A planned schedule reflects a polished and organized approach to showcasing your holiday spirit.
Step 9. Inspect Regularly for Maintenance:
Maintaining your icicle lights throughout the festive season involves regular inspections to ensure everything remains in good condition. Periodically check all strands for dimming, flickering, or unlit bulbs and replace them promptly to maintain a seamless display.
Look for signs of wear and tear on the cables and clips, especially after inclement weather conditions such as strong winds or heavy snow.
If you notice any loose clips or drooping sections, adjust them to ensure they remain secured and aligned. By keeping your lights maintained, you ensure safety and longevity, and preserve the overall aesthetic of your holiday decoration through the entire season.
Step 10. Safely Remove and Store Your Lights:
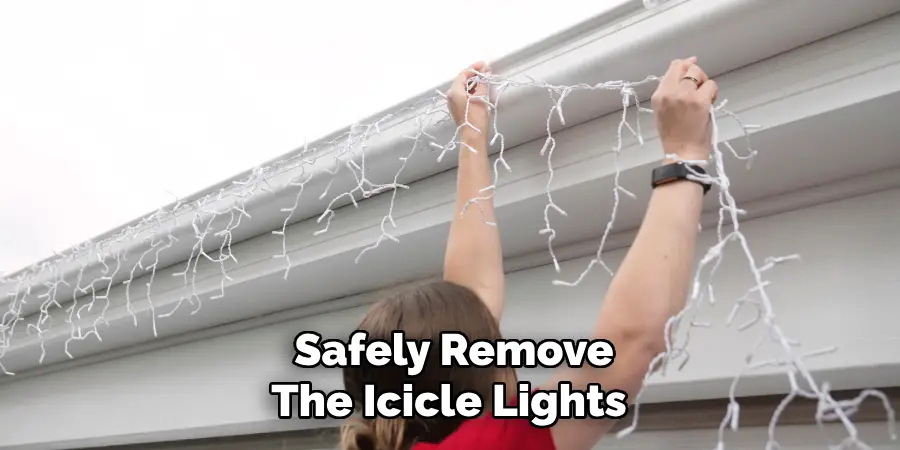
As the holiday season comes to an end, it’s essential to remove your icicle lights with care to ensure they remain in excellent condition for future use. Start by disconnecting the power supply, then gently detach each light section from the clips or hooks.
Work systematically, moving from one end of your display to the other, to prevent wires from tangling or damaging. Once removed, neatly coil the strands and store them in a dry, cool place to protect them from moisture and temperature fluctuations.
Label your storage containers and keep them organized, making next year’s setup more efficient and stress-free. By following these steps, you can create a beautiful holiday display with your icicle lights that will bring joy and sparkle to your home throughout the festive season.
5 Things You Should Avoid
- Using Inadequate Hooks or Clips: Avoid using flimsy hooks or clips that cannot support the weight of the lights. This can result in sagging or uneven hanging, compromising the display’s aesthetic appeal.
- Skipping the Tension Test: Failing to check the tension of the lights before securing them can lead to loose, dangling strands. Make sure the lights are snugly fitted to prevent drooping.
- Neglecting to Measure Evenly: Simply eyeballing where to place the holders can result in uneven spacing. Always measure the distance accurately to ensure uniform distribution and alignment.
- Ignoring the Weather Conditions: Remember to ignore the impact of wind or rain, which can dislodge improperly secured lights. Use weather-resistant materials that can withstand various environmental factors.
- Refrain from discarding the Power Source: Overlooking where the power source is can lead to lights stretching or hanging improperly. Plan to minimize the distance to the power outlet, ensuring the lights hang flat and straight from start to finish.

Conclusion
How do you get icicle lights to hang straight requires careful planning and attention to detail. Start by gathering sturdy hooks or clips designed to hold the weight of the lights securely.
Conduct a tension test to ensure the lights hang properly without sagging. Take precise measurements to achieve even spacing and alignment along the desired area. Keep an eye on the weather forecast to prevent environmental conditions from affecting your display, and opt for durable, weather-resistant materials.
Finally, ensure the proximity of your power source to prevent unnecessary stretching or slacking of the light strands.
By following these steps, you can create a visually pleasing and well-organized display of icicle lights that enhances the ambiance of your space.

